Trick My Tinnie: Pt 1 Ben Keen 2017

Two things in life define me, my ability to dream and my penchant for expensive toys. I think I know where it started. I was 12 years-old. The location was K Mart at Wynnum West. Up the back was a glass cabinet that could only be unlocked by an appropriately trained staff member – like all expensive things in Wynnum, it pays to lock them up. In this cabinet sat 2 items that would mesmerise me: Alvey reels & fish finders.
Fortunately, with a bit of birthday money, some car washing, lawn mowing and excruciatingly long periods of lay-bying, I was able to acquire quite a few Alvey reels over the years. However, the fish finders were just too far out of reach. They joined my broader pipe dream world that included playing for the broncos, going on dates with Pamela Anderson and being able to round house like Jean-Claude Van Damme. What can I say, the early 90s were special times.
Fast forward 25 years and it is mind blowing to think how far technology has come in such a short period of time. Terms like spot locking and side imaging are on everyone’s lips and it is not uncommon to see sub 5 metre boats holding 10K + of tech gear.
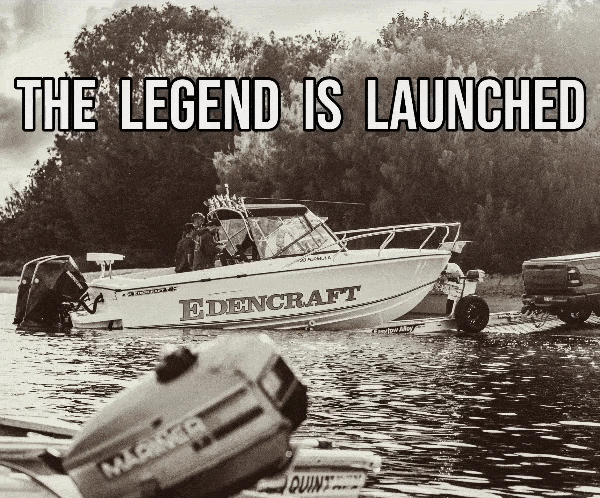
About 18 months ago, I decided to buy myself a new tinnie with the specific intention of setting it up as the ultimate bay boat. However, time just disappeared and until this point, my bay beast has existed un-tricked. Unfortunately, I am constantly reminded of the disadvantage that this incurs as all my fishing mates are running the latest and greatest gear.
So whine I will no more. It’s time to trick my tinnie.
Choose your weapon
The first step is obviously to choose your electric motor. My weapon of choice is the 2017 Minn Kota Terrova (RT55ST i-pilot). My boat comes in at just under 4.5 metres so the 55lb/54″ model is a perfect match. If you are unfamiliar with the key specs of electrics, 55lb is the thrust (power) and 54″ is the length of the shaft.
These specs are suitable for most sub-5 metre boats. Obviously, if you have a bigger boat, you will more than likely need to up-size to one of the larger models. See the Minn Kota website for appropriate sizing guidelines.
Arm your weapon
Ok, so here’s the thing. In the last couple of years, quite a few boat manufacturers have started pumping boats out of the factory ‘with’ mounting plates already welded to the bow.
I was not so lucky and had to weld a plate on. Whilst this in and of itself is not such a big job, it is important to find the right person to do the job.
Someone who can competently weld and fabricate aluminium as well as having an understanding of electric motor placement is key.
Motor placement is critical because the electric’s prop should be as close to the centre of the boat as possible.
However, in saying that, consideration will need to be made as to where the shaft will lie when in the stowed position.
Issues of anchor well placement, grab rail placement and casting deck space will all need to be taken into consideration.
When considering the appropriate installation position for my boat, I decided to sit the Minn Kota a little back from the dead centre to accommodate a better ‘stow’ position. Otherwise I would have lost significant deck space or would have needed to cut grab rails off, grab rails that have nav lights built into them. Expert advice, try and avoid making extra work!!
All that being said, a good welder will work miracles and my guy did a great job.
I used Browns Mobile Welding and Fabrication because Chris the owner has extensive marine experience. You will find great variation in quotes ranging from $150 – $750. I would recommend going in the middle, no need to get ripped off but no need to end up with a disaster either.
Once your plate is on, all you have to do is fix the Minn Kota base to the plate via 6 bolts. I expected it to be a much more complicated process with multiple assemblies required but the unit is pretty much ready to roll! This aint no IKEA Situation. I wish I could provide more instruction but I can’t think of anything more to write!
Powering Up
If there was ever an interesting conversation starter at a fisherman’s dinner party, it would be the different approaches that can be taken to powering your electric. As this is an entry level installation article, I will go with what I think is the most straight forward and uncomplicated approach (the one I used).
So, I chose to run the Minn Kota straight off a deep cycle battery, not connected to any other systems on the boat.
Simply put, this means as soon as I get home, I have to whack a charger on it. There are certainly other options available that would see batteries charging whilst on the water etc, but this is a simple and cost effective method.
In terms of wiring, it is essential to run the Minn Kota to an in-line fuse.
It is a good idea to then use an Anderson plug to connect to the battery. This makes unplugging your Minn Kota and plugging your charger in when you get home very easy.
In terms of batteries (another dinner party conversation starter) – I went with a deep cycle Delkor HDC27 (100 amp).
If you can shell out the extra coin or need fast charging turn-around times, a high quality AGM would be recommended.
I was lucky enough to have a spot under my casting deck that perfectly fitted my battery so I grabbed a battery box and was wired and ready to go with an hour or so.
Please note, bad marine wiring has the potential to take lives so if in doubt – source it out!
Bits and pieces
Once this was all set-up, I installed my final piece of hardware, the heading sensor. This was a quick install with a couple of screws and a quick wiring mission to power.
Just note, when doing any tinnie pimping tasks – remember to use Teff Gel when fixing screws. Aint nobody got time for corrosion!
Once this is all complete, do a quick quality assurance test and then pair your i-pilot remote. Check and test your deploy functionality and be comfortable with it before heading out for a water test.
The heading sensor also needs to be paired but this is done out on the water. Easy as that!!!!
MINN KOTA SPECS:
Model: RT55ST i-pilot: Thrust: 55lb Shaft: 54″ Power: 12 volt
Features: Reinvented Spot-Lock, Heading Sensor, Quieter Steering Motor, Lift-Assist
Other models available:
RT 80ST i-Pilot: Maximum Thrust lb: 80 Volts: 24 Shaft Length: 54
RT 80ST i-Pilot: Maximum Thrust lb: 80 Volts: 24 Shaft Length: 60
RT 80ST i-Pilot: Maximum Thrust lb: 80 Volts: 24 Shaft Length: 72
RT 112ST i-Pilot: Maximum Thrust lb: 112 Volts: 36 Shaft Length: 60
PROJECT COSTS:
Minn Kota Terrova RT55ST i-pilot RRP: $2999
Project Battery: $220 but be prepared to pay around $400ish for a good quality AGM
Project Welding: $350 – prices can vary a couple of hundred dollars either side of this
Battery Box: $35
Anderson plugs and cable: $75
Battery charger: CTEK MXS7.0 (capable of charging AGM batteries) $219
Total cost: $3898 – However, if you get a few things on special and don’t need welding – it could be heaps cheaper