Seabed Secrets – By Dan Kaggelis
When most anglers are using their sounders to find fishable offshore ground, they commonly look for signs of changes in the bottom, structure, and even signs of bait and fish. What many don’t often consider is the hardness of bottom they are exploring.
More commonly referred to as bottom hardness or seabed composition, what most anglers don’t realise is just how important this indicator can be in helping us find the ground and more importantly fish we are looking for.
There are many different types of seabed composition found in offshore and rocky reef coastal environments and being able to tell them apart using your sounder is a very valuable skill. Before we get into sounder reading, let’s start with understanding the different types of bottom hardness and seabed composition. There are many different types of seabed composition but the most common and easily identifiable types include, sand, rock/rubble, reef, mud, and shell. These compositions are not just limited to offshore or coastal areas and they can be found in estuary and creek environments as well. The compositions of mud, sand are obvious ones but shell and rock bars are also found in these places as well.
One of the most important things to understand is that certain species of fish prefer different types of seabed composition and therefore we can use this information to help us find likely spots where these fish will be.
Whilst it may sound complicated it can in fact be pretty simple to match bottom composition and bottom hardness and different fish types.
For example, when I’m exploring coastal inshore areas, I’m always looking for a change in bottom hardness and seabed compositions. This change may be small but a transition from soft bottom to a harder bottom can mean I’m more likely to come across a sneaky patch of rocky reef or even better an isolated bombie. It can also work the same for wonky holes as sometimes when they are flowing hard, they spew out rocks and rubble which over time can make the bottom around them not only harder but also a different type of seabed composition. There is nothing better than finding these little ‘pots of gold’ as they can hold some incredible fish.
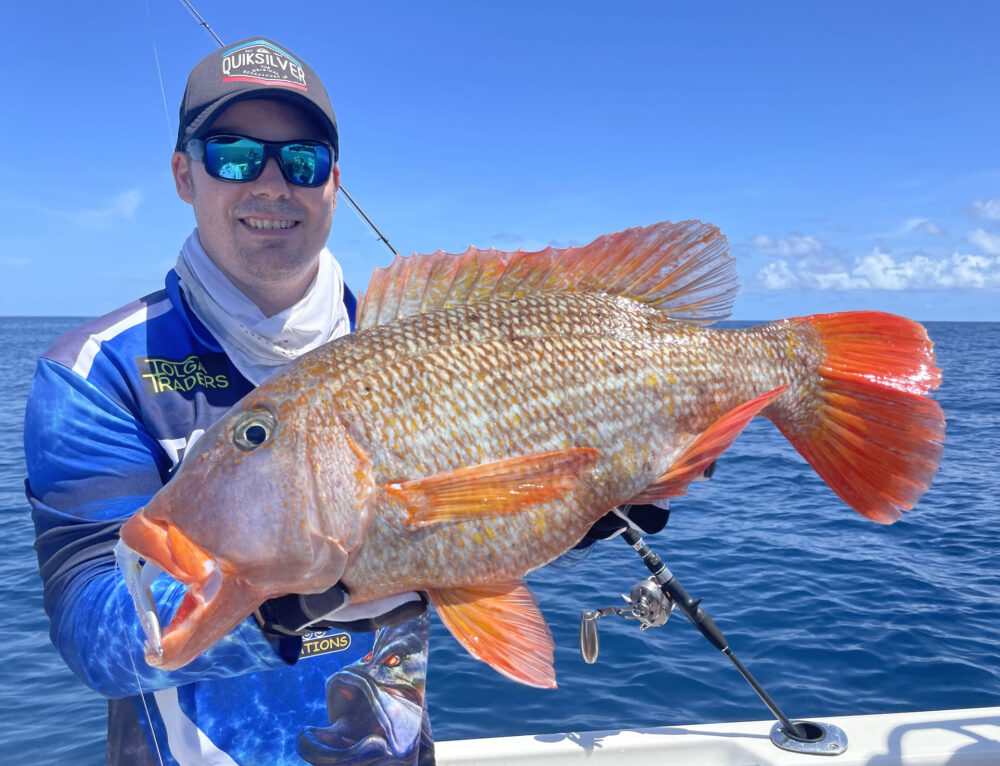
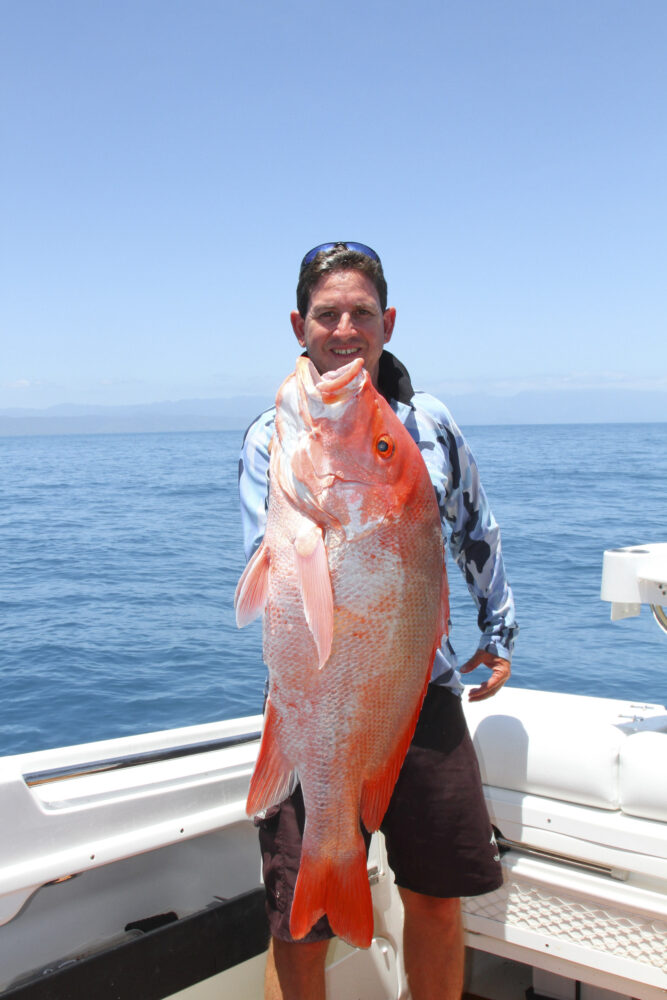
Species like this buffalo emperor like a mix of sand and reef in deep water and finding this type of bottom composition is key to targeting them.
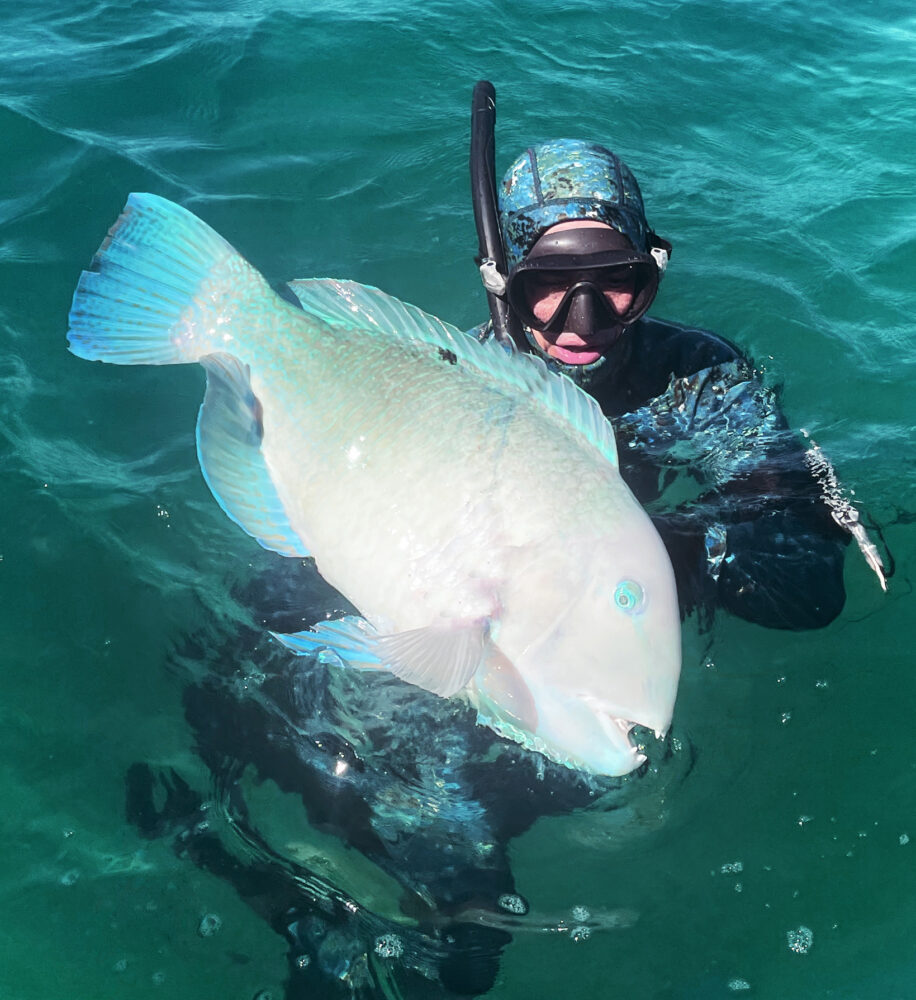
When I’m hunting for finger mark or golden snapper I definetly spend more time focusing on changes in bottom hardness as this will tell me whether I’m getting closer to the ground I am looking for. The same can be said when I’m looking for saddle tail snapper ground between reefs. Often these areas have acres of silt soft bottom but find something that has a little more bottom hardness and you are in the game. Harder seabed compositions include obvious ones like rock, rubble, and reef. Shell grit and sand is in the middle and when it gets to mud and silt you are looking at a much softer bottom. Often you will see a transition from sand to shell grit and then eventually the real hard stuff. Some species, especially grunter, really like shell grit types of bottoms. I have a spot off one of the islands in the Whitsundays in 50 metres of water where the bottom moves from silty mud onto shell grit before moving to a rockier bottom. On this shell grit transition from soft to hard, the grunter school up in huge numbers. You could drift over the spot and every time every rod in the boat would load up. However, once you moved into the harder ground you couldn’t get a bite. The same can be said for saddle tail spots out in the deeper water or shoal country. Shoals are basically harder bottom areas coming off the mud or silt and even the smallest change in hardness can hold bait and fish.
I’ve had spots where the smallest change in the bottom hardness can produce big numbers of saddle tail as the harder bottom allows for the growth of fern and plant style structure which they love.
I’ve also shared a few marks with close friends who have visited these spots and whilst they caught fish, couldn’t see why they were holding there because they were looking for structure not bottom hardness.
So how do you read bottom hardness on your sounder? First of all, you need your sounder frequency to be set so you have a very narrow cone, so in general a higher frequency is better for this. In my experience a narrow cone will provide a stronger return in the deeper offshore water. For example, generally a 200khz frequency will shoot out a 20-degree beam and cover an area below the boat 1/3 of the water depth, whilst an 50khz frequency will provide a much wider angle and cover the same area as the depth you are fishing.
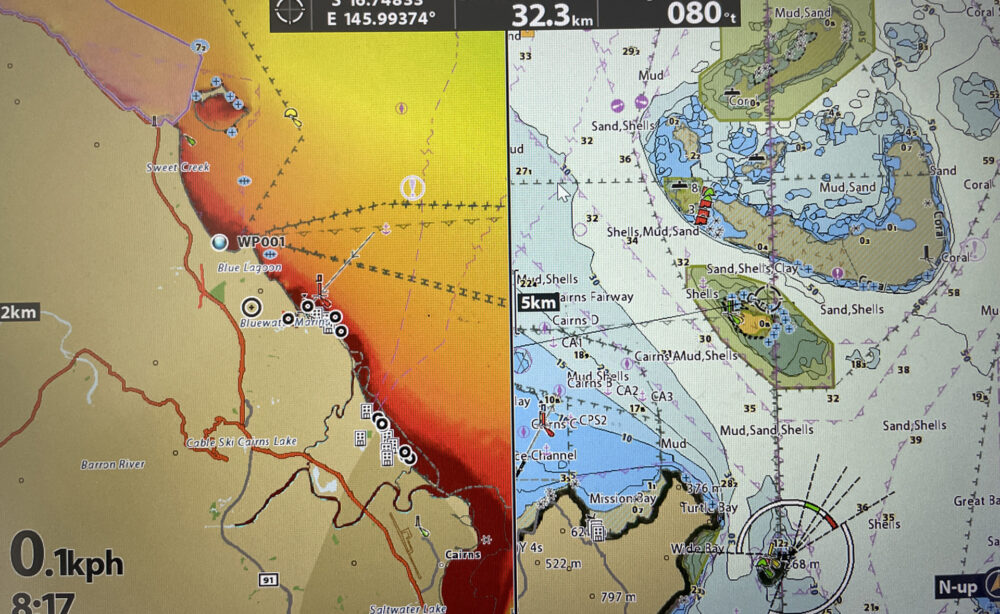
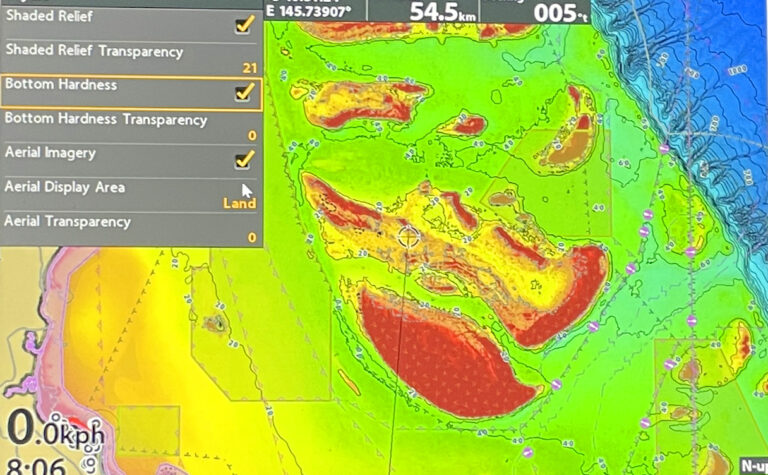
The Humminbird Coast master Charts allow a split screen setting which allows the user to read bottom compositions as well as see their transitions via colour shading.
Using a wider cone is great for finding ground as you are covering more bottom but a narrower cone will give you a better read and definition of the bottom and its hardness. This is why I love my Humminbird Helix as it has a dual spectrum chirp feature which allows me to change between a wide mode which is good for searching ground and in shallow water but when I think I have found something of interest I can easily switch to narrow mode and get a real detailed view and reading of the bottom, not to mention fish which may be hanging close to the bottom. Humminbird sounders also offer compatibility with Airmar transducers which take your capabilities to a whole new level. Your transducer is where the engine is at, and getting the best out of it is crucial.
This is why knowing your sounder is really important and if you are setting and forgetting you really are missing out on the best it can offer.
Once you have your frequencies sorted, its time to focus on what you are seeing on the screen. Colour pallets were a common way of determining bottom hardness but most sounders in 2D have the option of changing bottom view colours in preference of the user. As a general rule when running your sounder in the ‘Day’ function, yellow indicates hard bottom whilst your reds and blues (darker colours) tend to be associated with soft bottom composition.
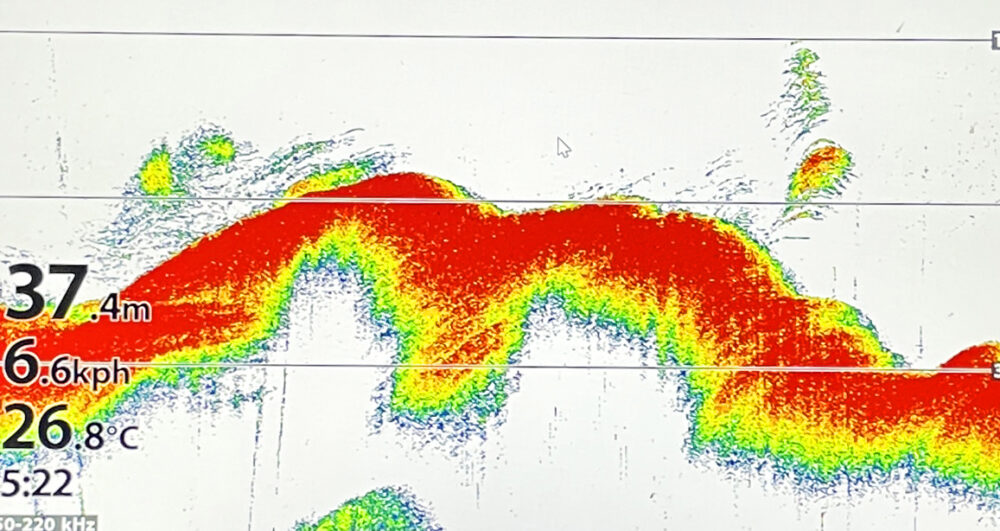
The best way to determine hardness is by the thickness of the bottom return. The thicker the bottom line return the softer the bottom. Whilst a much thinner line bottom return will represent a much harder bottom. Once you can start reading this from your sounder you are pretty much well on your way to identifying the hardness of the bottom. Sometimes your sounder will show a double bottom line return. Many anglers have no idea what this is showing but when you get this it’s not your sounder playing up it’s a sign you are moving over very hard bottom. What is happening is that the bottom is so hard that the original sonar beam is being reflected back to the transducer so hard that it shoots back down creating a double reading.
Bottom hardness cannot only be determined by traditional 2D sonar but can also be identified when using side imaging or 360 imaging modes. Harder bottoms will appear as brighter shades on your screen whilst the darker shades will represent softer bottom composition.
Another very easy way to determine bottom hardness is on your GPS. For example, using my Humminbird CoastMaster Premium GPS chart I can turn on bottom hardness indicators which tells me the bottom composition on my maps. It takes it even further by allowing the user to set the GPS map to a bottom hardness feature which shows through different shades of red how hard the bottom is. So darker shades of red on the GPS will show a softer bottom of mud and silt whilst a light pink to white shade represents a very hard bottom such as reef or rock. What is so good about this feature is that it can show you where the bottom begins to transition as the colours fade from dark to light.
At the end of the day, being able to interpret your sounder and what it is telling you about the seabed composition and bottom hardness is just another way to help you find not only the best fishing ground, but the best fish as well.


