Repairing a Broken Rod

By Josh Behrendorff
Regardless whether you fish twice a week, twice a month, or twice a year, the chances are that we have all had a rod or two that has broken during a fishing trip.
Back in the days of predominantly glass rods, they were a lot more forgiving with rough handling and abuse, yet the graphite rods that are becoming more and more popular with their reduced weight and incredible sensitivity are significantly more fragile. While slamming doors and ceiling fans take their toll, poor storage either in the boat, car or even the shed is the biggest cause of broken rods, not to mention the addition of rough skippers or deckies throwing your fishing gear around often results in the inevitable. The above scenarios were not the case for my rod; it’s undoing was more so from a frantic moment with a lively barra, flying trebles and my boat drifting towards a rock bar while fishing solo last year.
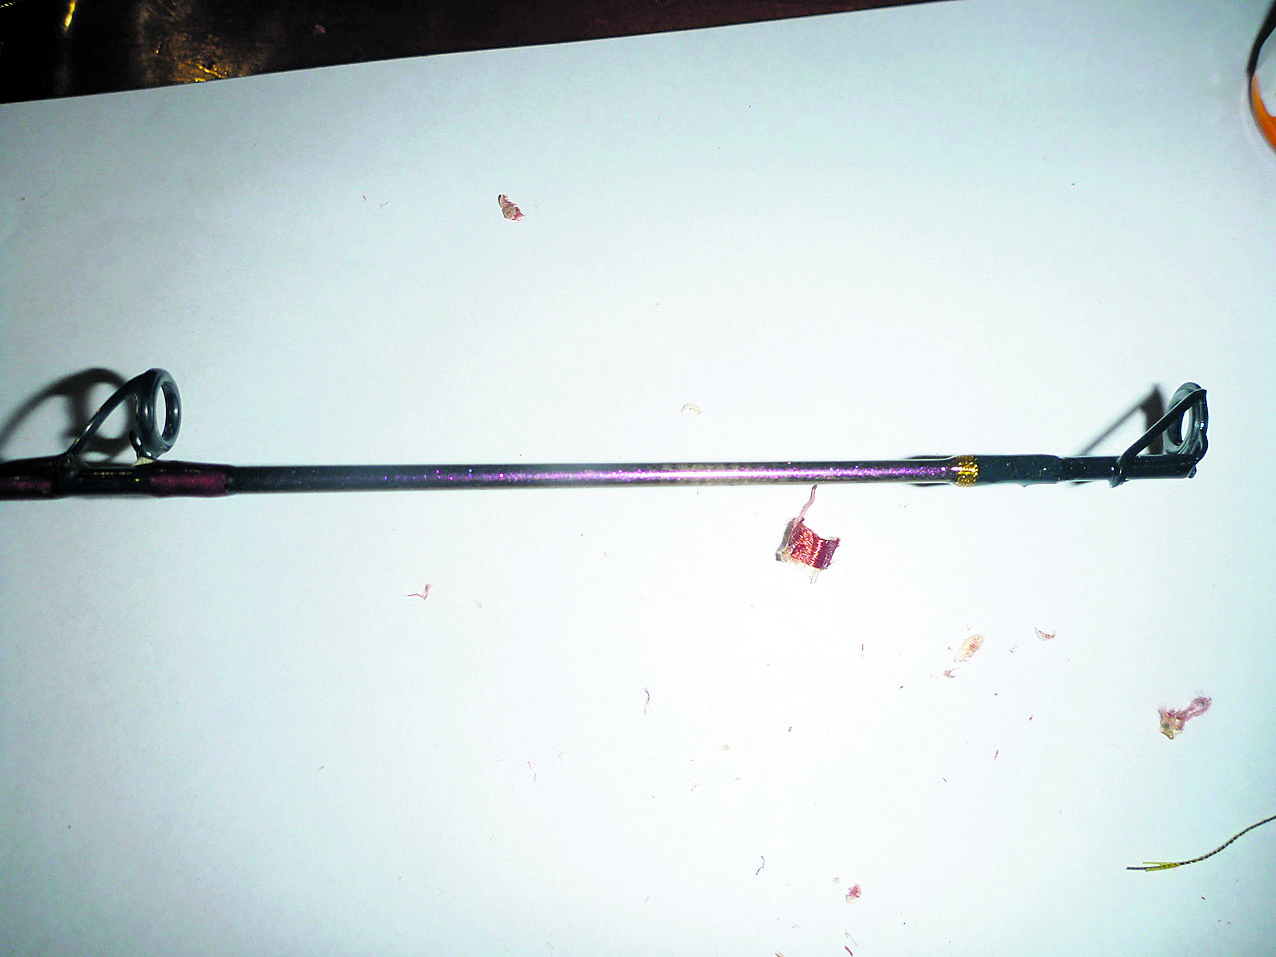
With the opening of the barra season looming and the festive season over, now is the perfect time to begin the preparations for the 1st February. Now I have to admit I am no rod building expert, yet between enjoying watching cricket and repairing this rod, it only took me around an hour. This casualty was on one of my favourite Mexican Raider BC rods and fortunately the break was reasonably high to the tip, so my plan was to remove the top two runners, trim up the graphite near the break, place the top runner back on and re-bind it. The steps were as follows:
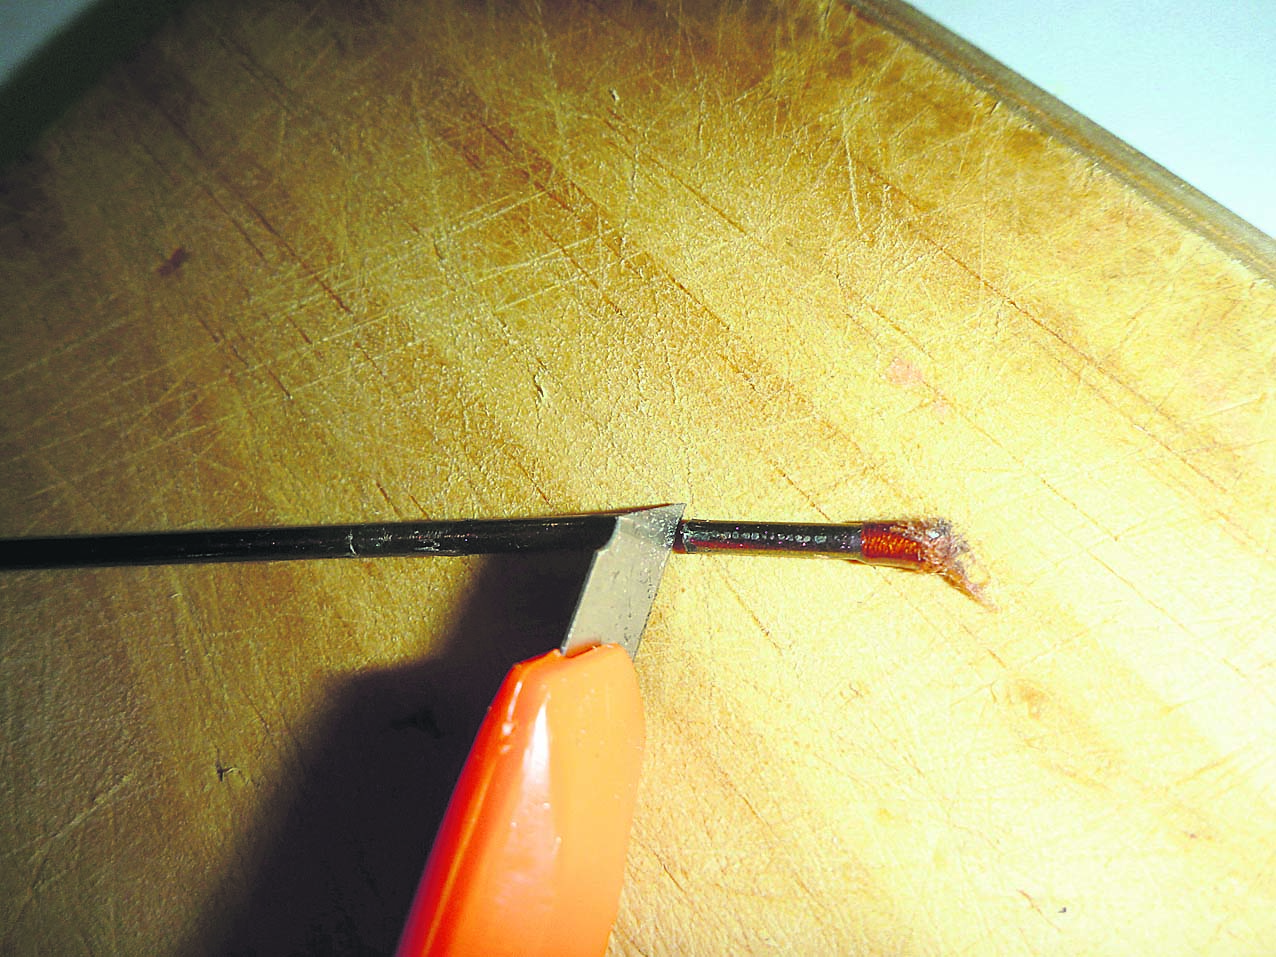
1. Cut off the runner with a razor blade and remove all excess bindings/epoxy.
2. Using a cigarette lighter as heat, remove the top runner from the broken rod tip.
3. Trim down the graphite rod tip.
4. Heat up the rod tip repair glue with a cigarette lighter, liberally apply and quickly slide on the new rod tip runner.
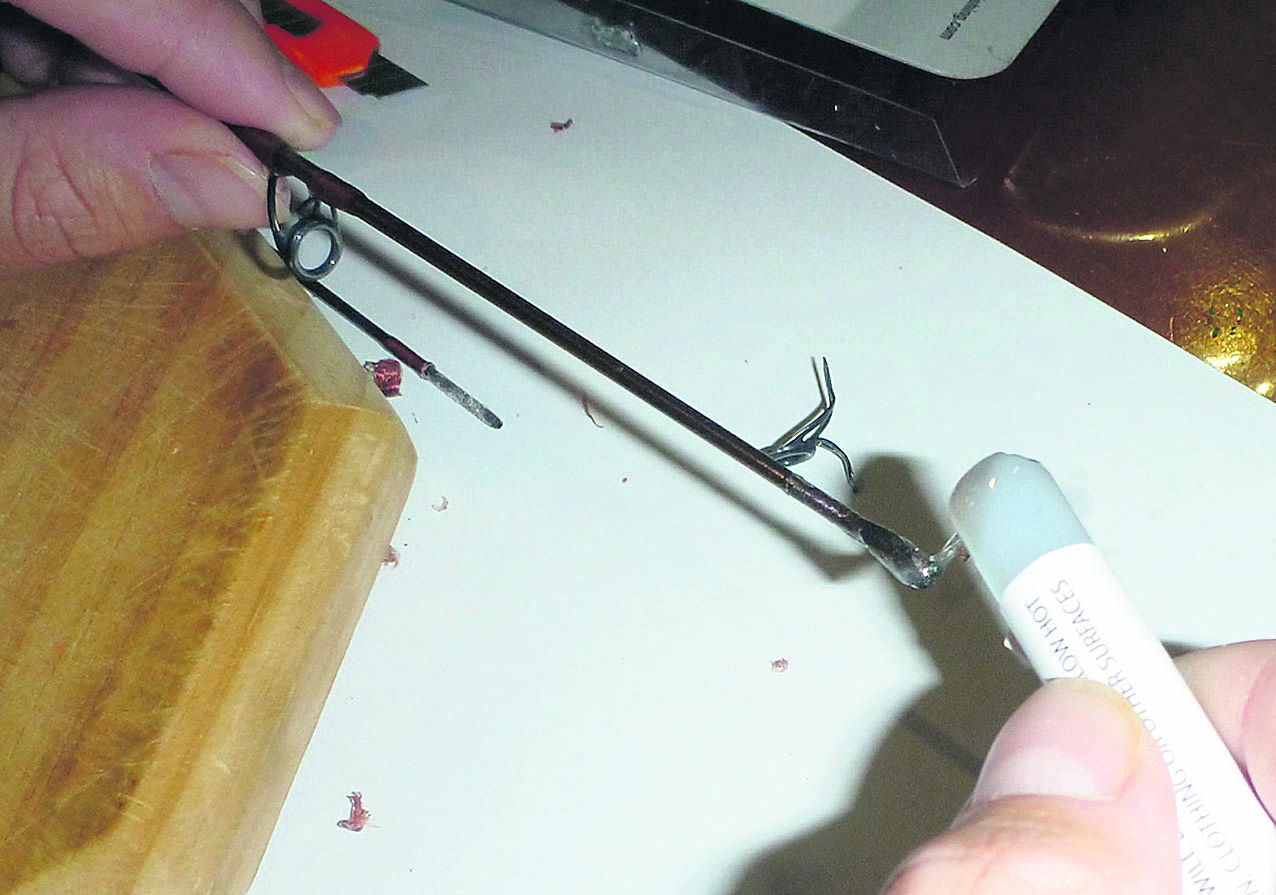
5. Align the guides so they are running true and allow to cool.
6. Remove excess glue.
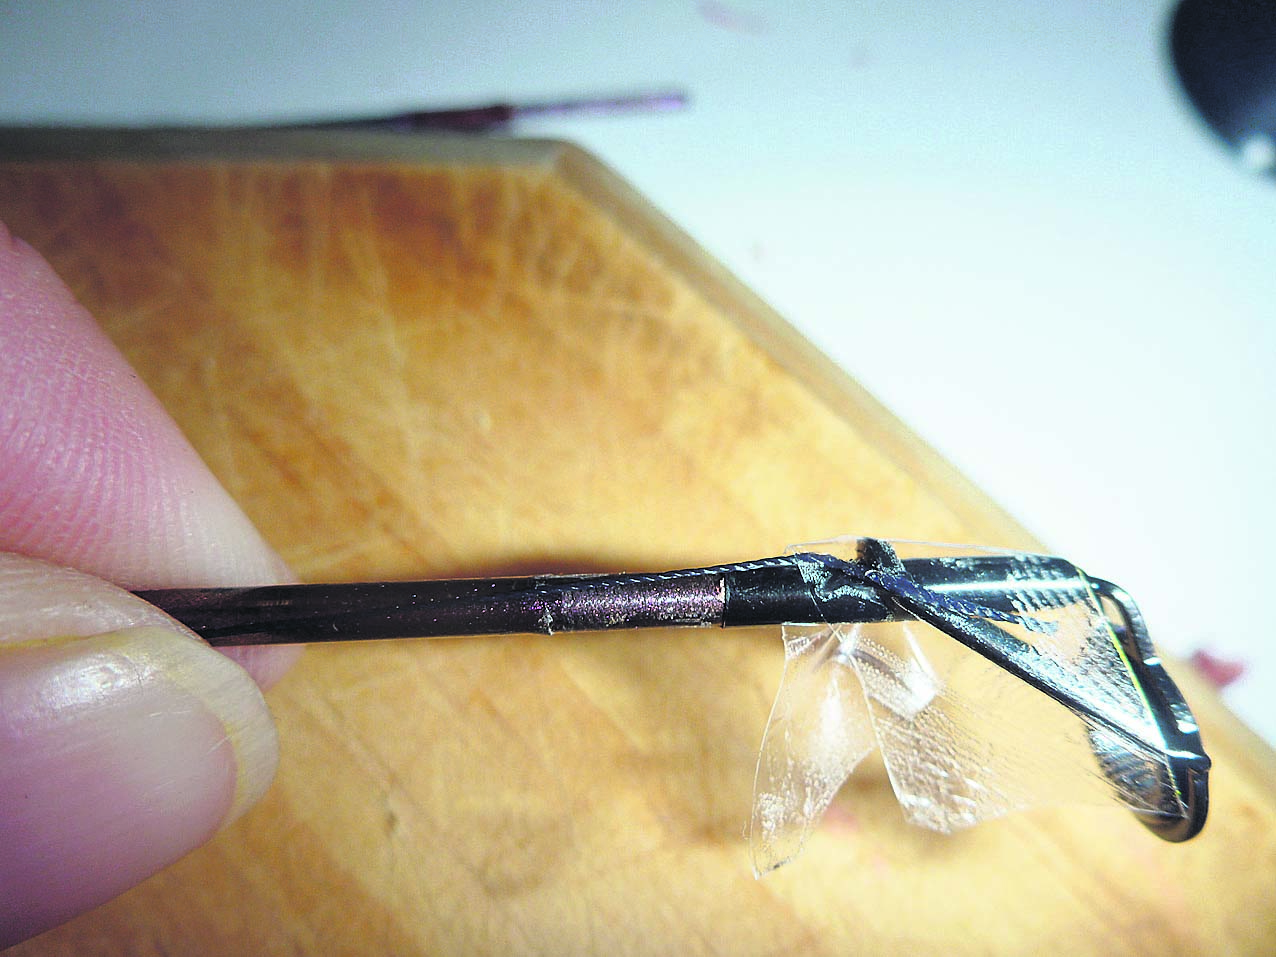
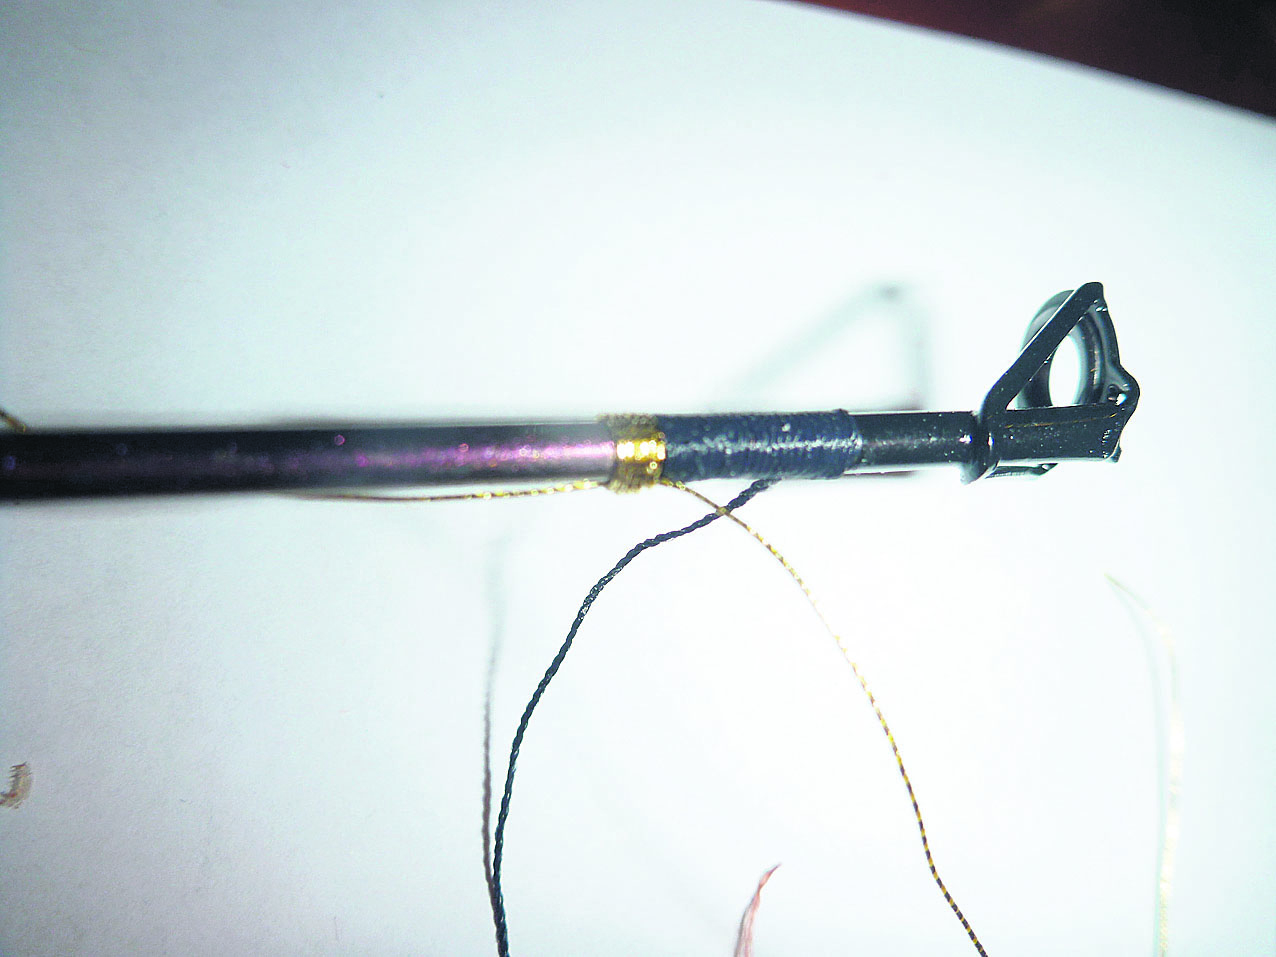
Note: the top runner on a fishing rod doesn’t need binding to give it strength. The binding across the top is purely an aesthetic addition. I chose to bind the top runner on my rod, however, I couldn’t source the same colour thread as the Raider rods use, so I opted for a custom black and gold colour scheme.
7. Begin winding some thread onto the rod blank. I like to tape the loose end onto the rod runner, bring it down the rod tip around 10mm, and then begin winding it back up.
8. Trim off the excess thread and continue winding up towards the rod tip.
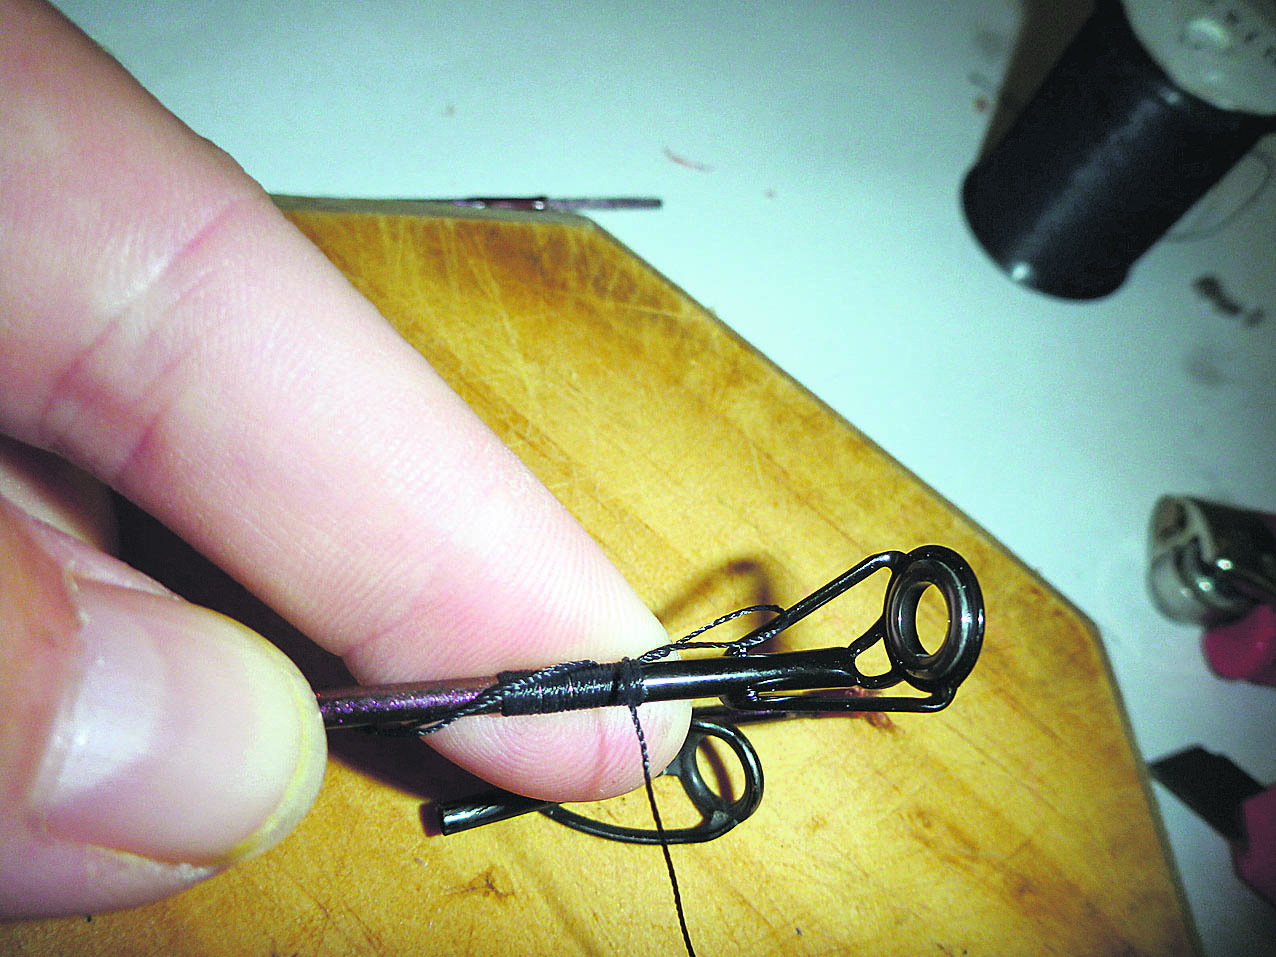
9. Using a piece of offcut thread, fold it in half and continue the binding over top of the loop all the way to the runner.
10. Place the end of the thread through the loop created and pull on the opposing end of the loop which pulls the tag end down into the binding.
11. Trim up tight against the binding with a sharp razor blade.
12. Repeat process for the decorative trim if required and trim up all loose ends.
Note: there are a few ways to seal the bindings up. Previously I had always chose to use a two part epoxy resin, although with this rod I chose to use a couple of Wilson products which were not only quicker and easier, I would say the finished product looks just as good.
13. Using a small brush, carefully apply a thin coat of the rod binding filler and spin the rod for about five minutes to ensure it dries evenly. Repeat the process until the desired thickness is achieved (I was happy with two coats).

14. Apply the final coat of rod varnish using the same technique as mentioned above.
With that, the rod is as good as new, all be it a few inches shorter.
Until next time, stay safe and tight lines!